给bamboo添加动态背景
首先说一下,这个和添加右上角梅花那篇文章一样,是没有放到主题配置项里让自己配置的,而是通过我接下来的步骤,自己动手实现,两分钟就能实现。
- 首先打开主题下的配置文件
_config.yml,找到import,并引入js:1
2
3
4
5
6import:
link:
- <link href="/bubbly-bg/bubbly.css" rel="stylesheet">
script:
- <script src="/bubbly-bg/bubbly.js"></script>
- <script src="/bubbly-bg/index.js"></script> - 接着在
source文件夹下创建bubbly-bg/bubbly.js文件: 内容如下:bubbly.js
1
2
3
4
5
6
7
8
9
10
11
12
13
14
15
16
17
18
19
20
21
22
23
24
25
26
27
28
29
30
31
32
33
34
35
36
37
38
39
40
41
42
43
44
45
46
47
48
49
50
51
52
53
54
55
56
57
58
59
60
61
62
63
64
65
66
67
68
69
70
71
72
73
74
75
76
77
78;
window.bubbly = function (t) {
var n = t || {},
o = function () {
return Math.random();
},
r = n.canvas || document.createElement("canvas"),
e = r.width,
a = r.height;
r.className = 'bubbly-bg-canvas';
null === r.parentNode &&
(r.setAttribute(
"style",
"position:fixed;z-index:-1;left:0;top:0;min-width:100vw;min-height:100vh;"
),
(e = r.width = window.innerWidth),
(a = r.height = window.innerHeight),
document.body.appendChild(r));
var i = r.getContext("2d");
(i.shadowColor = n.shadowColor || "#fff"), (i.shadowBlur = n.blur || 4);
var l = i.createLinearGradient(0, 0, e, a);
l.addColorStop(0, n.colorStart || "#2AE"),
l.addColorStop(1, n.colorStop || "#17B");
for (
var c = n.bubbles || Math.floor(0.02 * (e + a)), u = [], d = 0;
d < c;
d++
)
u.push({
f: (
n.bubbleFunc ||
function () {
return "hsla(0, 0%, 100%, " + 0.1 * o() + ")";
}
).call(),
x: o() * e,
y: o() * a,
r: (
n.radiusFunc ||
function () {
return 4 + (o() * e) / 25;
}
).call(),
a: (
n.angleFunc ||
function () {
return o() * Math.PI * 2;
}
).call(),
v: (
n.velocityFunc ||
function () {
return 0.1 + 0.5 * o();
}
).call(),
});
!(function t() {
if (null === r.parentNode) return cancelAnimationFrame(t);
!1 !== n.animate && requestAnimationFrame(t),
(i.globalCompositeOperation = "source-over"),
(i.fillStyle = l),
i.fillRect(0, 0, e, a),
(i.globalCompositeOperation = n.compose || "lighter"),
u.forEach(function (t) {
i.beginPath(),
i.arc(t.x, t.y, t.r, 0, 2 * Math.PI),
(i.fillStyle = t.f),
i.fill(),
(t.x += Math.cos(t.a) * t.v),
(t.y += Math.sin(t.a) * t.v),
t.x - t.r > e && (t.x = -t.r),
t.x + t.r < 0 && (t.x = e + t.r),
t.y - t.r > a && (t.y = -t.r),
t.y + t.r < 0 && (t.y = a + t.r);
});
})();
};
- 接着在
source文件夹下创建bubbly-bg/index.js文件: 内容如下:1
2
3
4
5
6
7
8
9document.addEventListener("DOMContentLoaded", function () { // 这个表示在html加载完成后执行
bubbly({
colorStart: '#fff4e6',
colorStop: '#ffe9e4',
blur:1,
compose: 'source-over',
bubbleFunc:() => `hsla(${Math.random() * 50}, 100%, 50%, .3)`
});
}) - 接着在
source文件夹下创建bubbly-bg/bubbly.css文件: 内容如下:加css的目的是让这个动态背景变暗1
2
3
4
5
6
7
8/* 动态背景--变暗 1最亮,数值越小越暗*/
.bubbly-bg-canvas {
filter: brightness(0.8);
}
/* 暗黑模式下 */
.darkModel .bubbly-bg-canvas {
filter: brightness(0.3);
}
最后重启服务hexo clean && hexo s
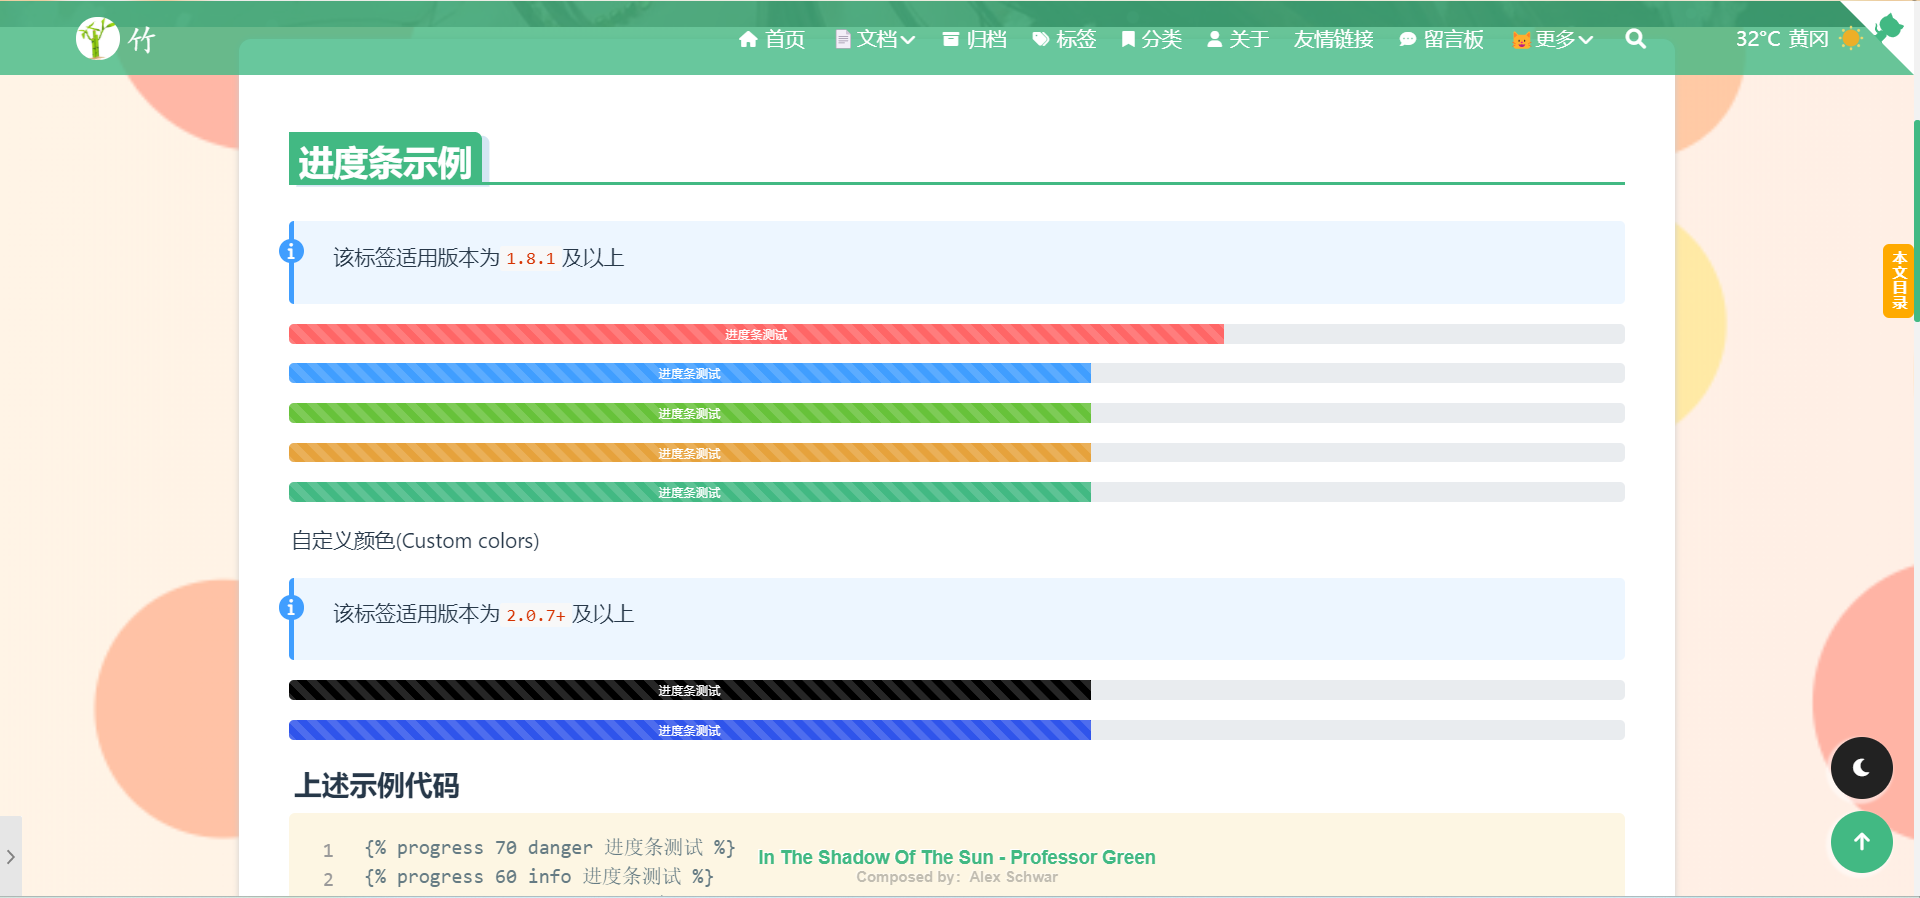
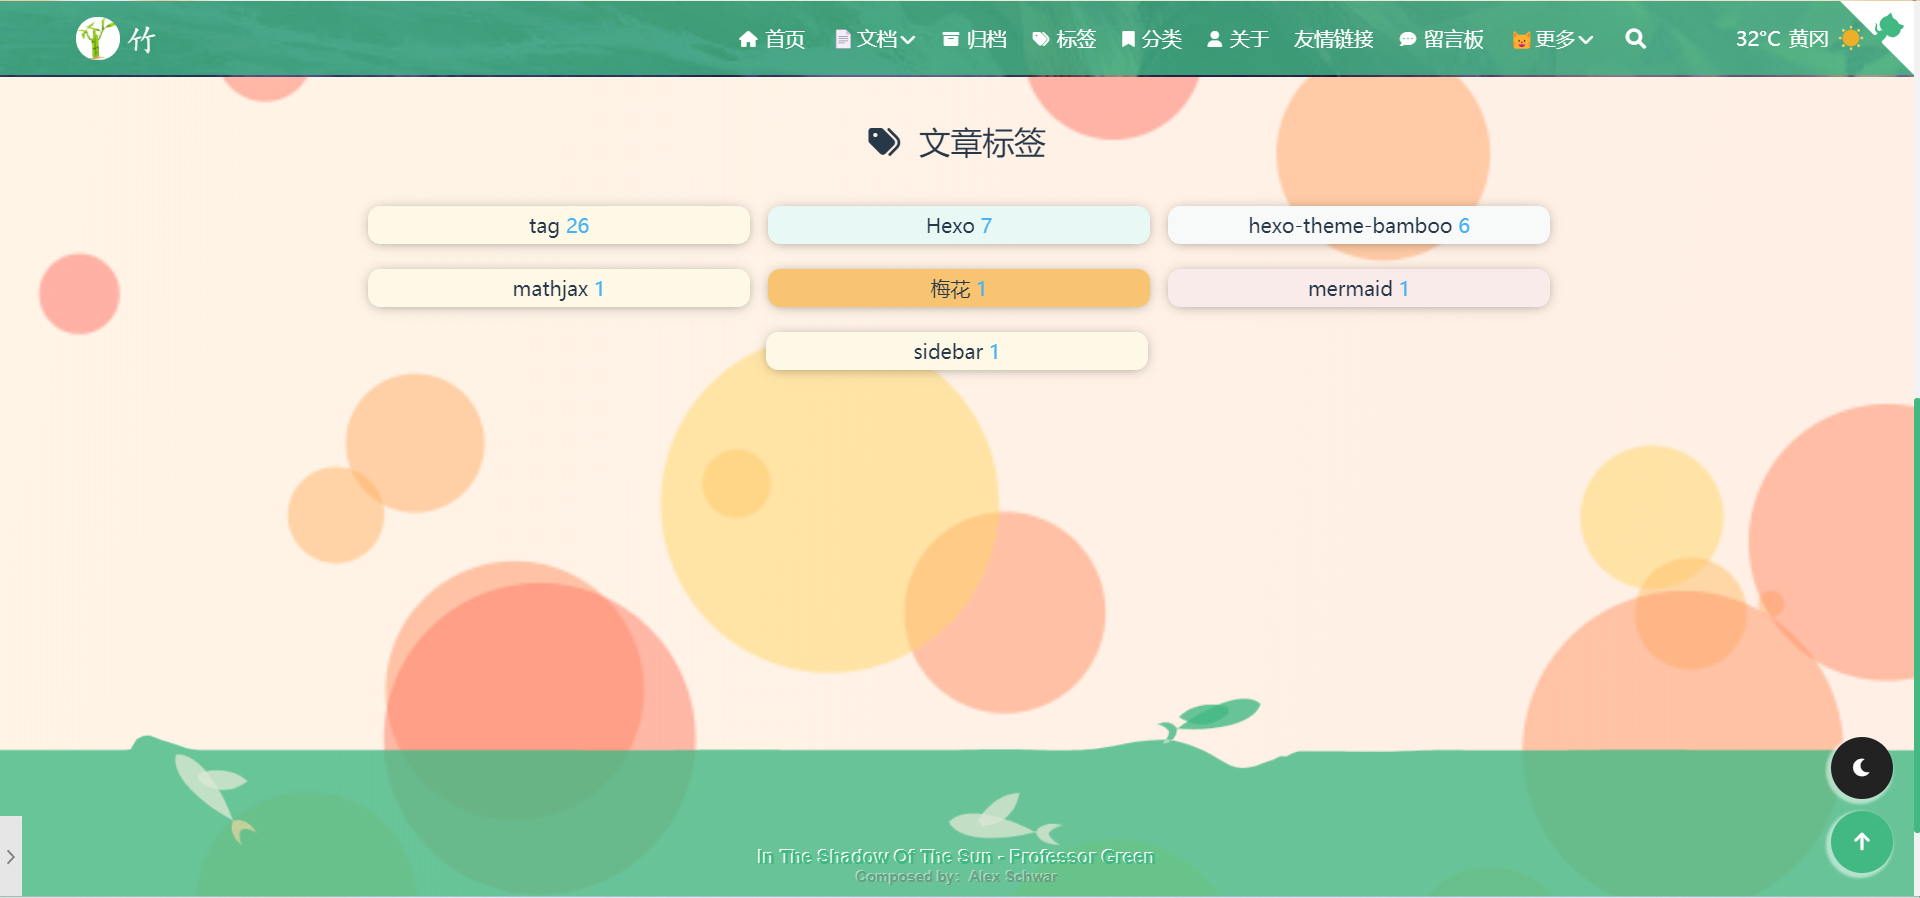
这样动态背景就完成啦,是不是很简单呢。
当然你还可以更改第三步自己创建的js代码参数,实现不同的动态背景, 具体参数请阅读:
demo:
效果如图所示:


假如我把第三步自己创建的js的参数更改如下:
1 | document.addEventListener("DOMContentLoaded", function () { |
则显示效果如下图所示:
如果喜欢,可以动手试试哦,不需要改源码.

